
 |
| Toasty Clock using Cricut Imagine Kate's Kitchen Cartridge |
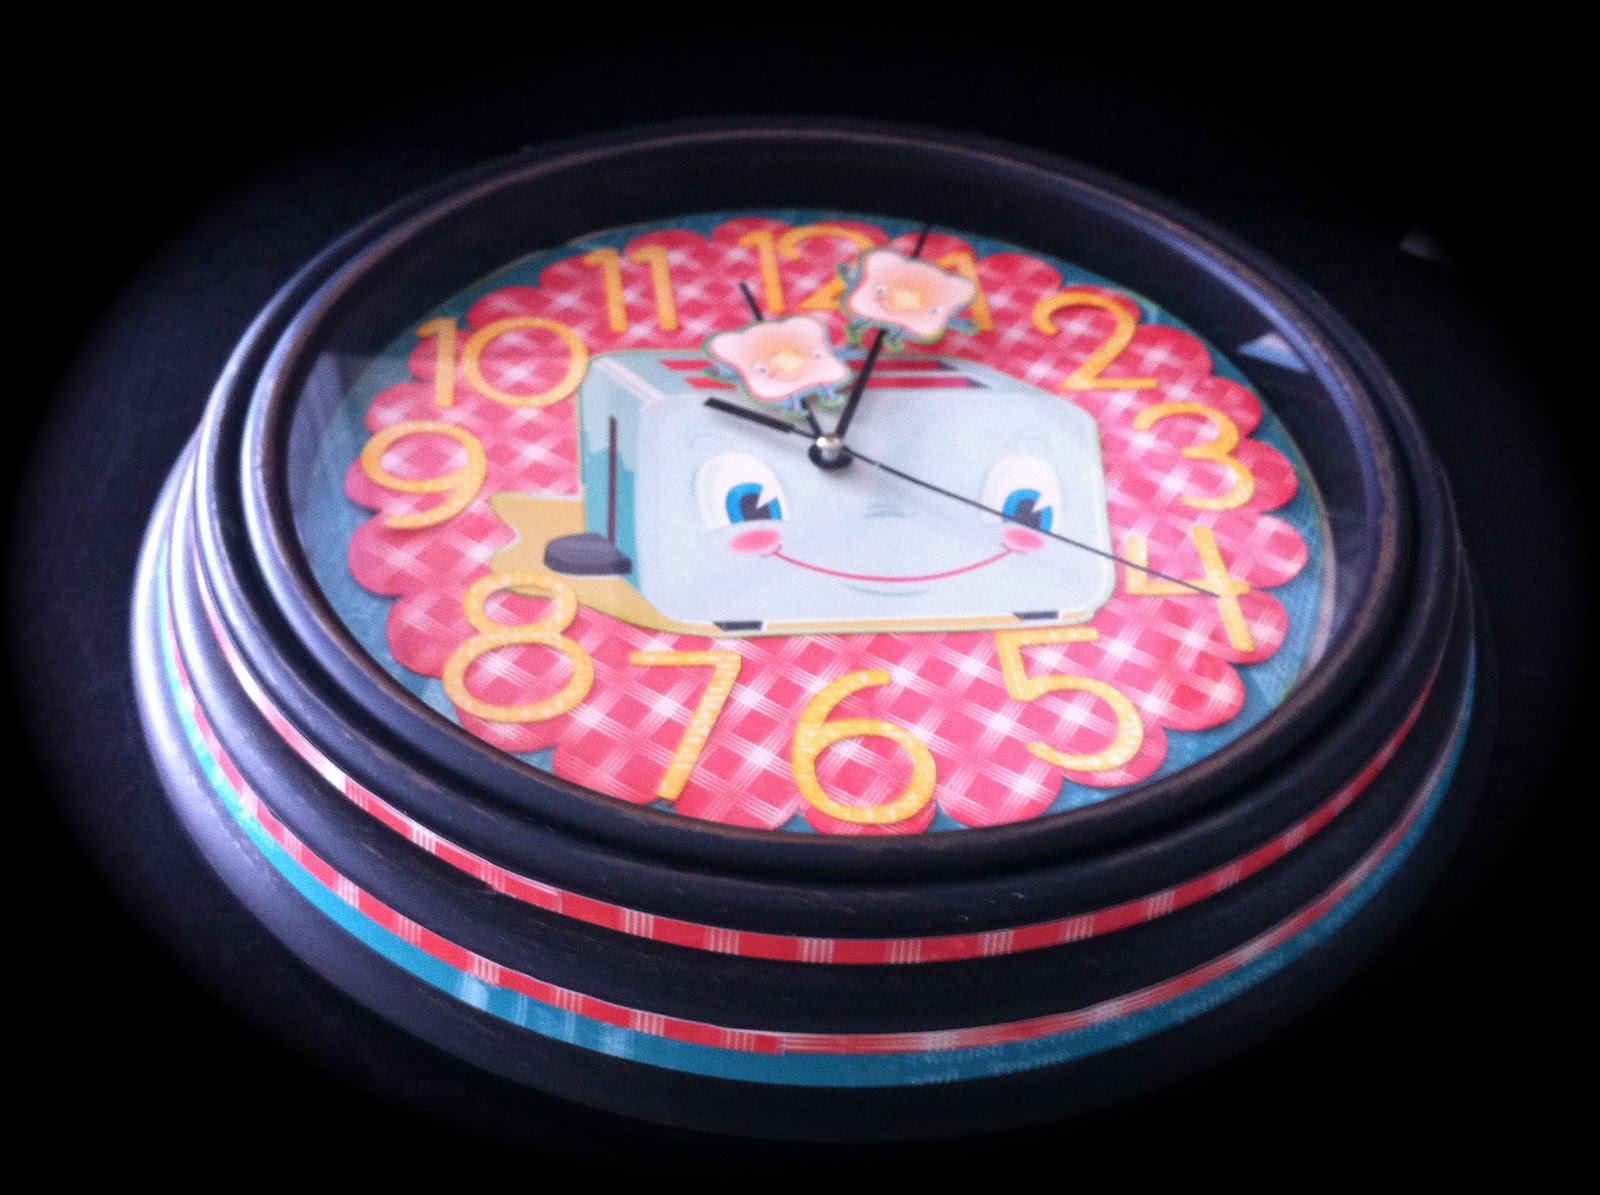 |
| Printable vinyl makes the perfect flexible sticker! |
It is extremely easy to pop the face off of a clock, which sounds slightly aggressive, but of course no harm came to any clocks used in this project! You can find an inexpensive clock and turn it into a masterpiece in no time at all! (slight pun intended this time!)
For more pictures of Cricut Imagine projects that were on our set at The Shopping Channel, please visit my Facebook page!
Project: “Toasty Clock”
Designed by: Heather Lancaster
Materials:
Cricut Imagine
Cricut cartridges: Kate’s Kitchen, Simply Sweet
White Cardstock
Cricut Printable Vinyl
Clock (appx 12 x12 overall size)
Yellow, Red & Teal Ink
Adhesive
Instructions
1 After disassembling clock so that you can place a new face under the glass, measure the inside diameter of the clock. (mine was 8.8”) Select a circle from the preloaded Imagine shapes and edit it to the size of your clock. Fill with Dark Green Teal background from Kate’s Kitchen, Print & Cut. Adhere in place after inking edges.
2 Select the Scallop Circle from the preprogrammed Cricut Imagine Shapes. Edit size to .5” smaller than your original circle, and fill with Red pattern from Kate’s Kitchen. Ink edges and glue in place.
3 Select toaster image, with layers feature. After deleting all but the toaster, edit to 4”. Print & Cut. Ink edges & glue in place.
4 Using the same Toaster image, delete all but the ‘Toast’ layers. Edit size to 1.5”, then print and cut 2 ‘toast’. Ink edges and adhere to clock arms.
5 Select numbers from Simply Sweet Cartridge. Edit size to 1.4” and fill color with Yellow patterned paper from Kate’s Kitchen. Print & Cut. Ink edges and glue in place.
6 Reassemble clock.
7 Select 2:3 ratio rectangle from preloaded Cricut Imagine Shapes. Edit fill color with same Teal background as you used for the clock face. Proceed to print screen and select ‘Fit to Page’ feature. Print & Cut onto a sheet of Cricut Printable Vinyl.
8 Repeat step 7, printing the other half of your vinyl with the Red pattern.
9 Using a slide cutter, cut thin strips of vinyl to decorate the sides of your clock with. As you peel back the paper and stick these into place, gently stretch the vinyl to fit the curved edge.
this is really cute, thanks for sharing with us
ReplyDeleteHave you picked the winners yet for your Jan 24th 4 question contest
ReplyDeleteChris
mcwooten1999@carolina.rr.com